Key takeaways
- Apple lists cleaning the front and back lenses with a microfiber cloth and removing cases, films and magnetic accessories as the first fixes for blurry iPhone photos.
- Settings such as Formats, Prioritize Faster Shooting and Lens Correction under Settings > Camera change how sharp and detailed your photos look.
- If one lens stays soft, the preview shakes, or a diagnostic finds an issue after cleaning, updating and restarting, the camera likely needs service.
In this story 8 sections
If your iPhone photos suddenly look soft, hazy or smeared, the cause is usually a dirty lens or something sitting in front of it, and a 10 second wipe with a microfiber cloth fixes it. If that does not help, the steps below on how to fix iPhone camera quality move from quick settings checks to the point where the camera hardware itself needs service.
Work through them in order. Most people never get past the first three.
A smudged lens or a cloudy protector
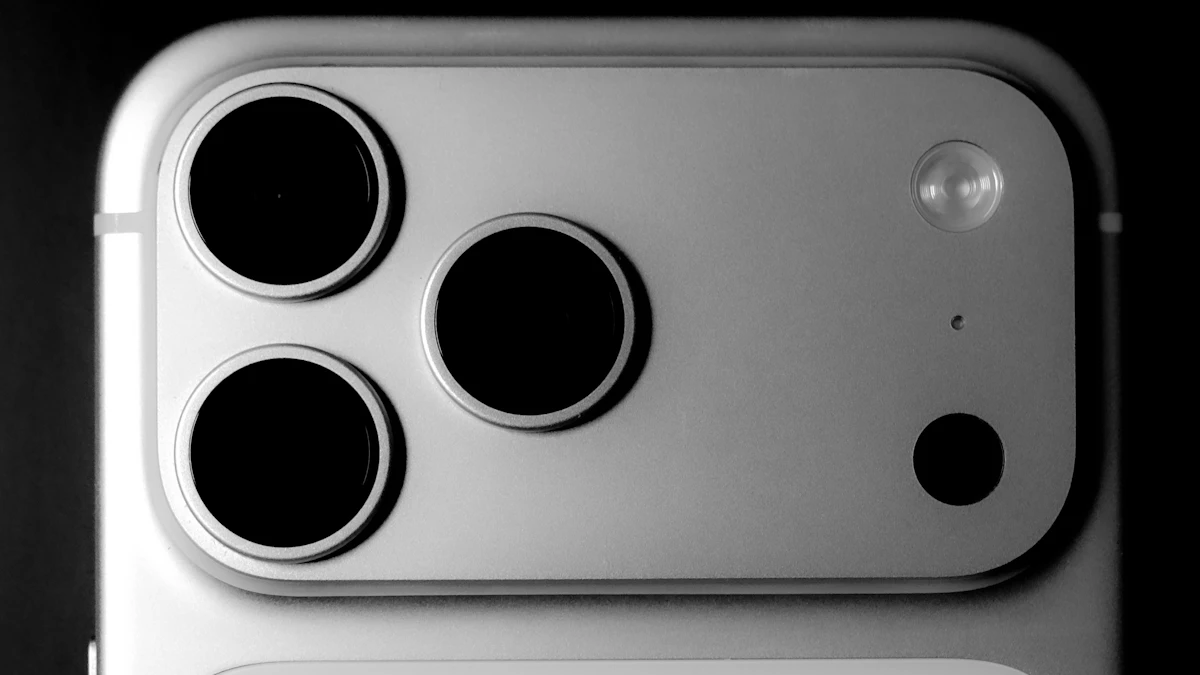
Phones live in pockets and hands, so the rear lenses collect skin oil, lint and dust. That film scatters light, which shows up as glow around lights, washed out color and a soft look across the whole frame. The front camera gets the same treatment from your cheek during calls.
Apple's camera troubleshooting page lists cleaning the front and back lenses with a microfiber cloth as one of the first steps for blurry photos. Its iPhone cleaning guide adds a few rules worth following:
- Use a soft, slightly damp, lint free cloth, such as a lens cloth.
- Don't use compressed air.
- Keep moisture out of openings, and never soak the phone in a cleaner.
- If you want to disinfect, a 70 percent isopropyl alcohol wipe is fine on the outside, but skip anything with bleach or hydrogen peroxide.
Check the lens protector or camera ring on your case too. Cheap glass camera covers scratch and fog, and a scratched cover will blur every shot no matter how clean the lens under it is. Peel it off and take a test photo.
Recent versions of iOS can also nudge you. Digital Camera World reported that iOS 26 added a Lens Cleaning Hints option under Settings > Camera, which warns you when it detects smudges in your shots, on iPhone 15 and newer models. If you use a soft focus filter on purpose, you can turn it off there.
A case, magnet or clip on lens in the way
Apple's first troubleshooting step is to remove any case, film or accessory that might block the camera or put a magnet near it. That includes polarizers, lens extenders and magnifiers.
Magnets matter more than people expect. Apple notes that if you see motion blur in low light while using a lens converter, a metal case or a magnetic lens mount, removing the accessory may fix it. If you use a magnetic wallet, grip or mount, test without it too. Take everything off, shoot a few photos indoors in dim light, and compare.
Blurry when you zoom in or shoot up close
Two common complaints have simple explanations.
When zooming, the iPhone switches between its physical lenses. Past the longest optical lens, the image is digitally enlarged, which looks soft, especially indoors. Back up a few steps instead of pinching to the maximum, or use the zoom button for the lens your model has (such as 2x, 3x or 5x).
Up close, every lens has a minimum focus distance. If you hold the phone a few inches from a label or a flower, the main lens may not lock focus at all. Move back a little. On models with an Ultra Wide camera that supports macro, the iPhone can switch to it for close work, and you will see the image jump slightly as it changes lenses. That is normal.
Tap your subject on the screen before you shoot. That tells the camera exactly what to focus on, which helps a lot when the background is busy.
Soft photos at night
Low light forces the camera to keep the shutter open longer. Any shake during that time turns into blur. Hold still until the shot finishes, brace your elbows against your body, or rest the phone on something solid. Night mode in particular needs you to stay steady for a second or more.
Also wipe the lens again. Smudges that are hard to see in daylight turn street lights into big hazy flares at night.
Camera settings that change how photos look
Some settings in Settings > Camera affect quality, and a few are easy to miss.
- Formats. Go to Settings > Camera > Formats. According to SlashGear, recent models let you choose a 24 MP or 12 MP photo mode. 24 MP keeps more detail when you crop, while 12 MP saves space. If you switched to 12 MP to save storage, that may be why crops look rough. If space is the issue, clearing a full iPhone storage is a better fix.
- Prioritize Faster Shooting. This toggle lets the iPhone lower image processing when you press the shutter quickly several times in a row. SlashGear notes it is on by default in iOS 26. Turn it off in Settings > Camera if you take a lot of quick bursts and want every frame at full quality.
- Lens Correction. Found in Settings > Camera, it fixes the stretched look at the edges of front camera and Ultra Wide photos. Leave it on unless you have a reason not to.
If photos only started looking worse after an update, install any newer update that is available in Settings > General > Software Update. Apple lists updating to the latest iOS as part of its camera troubleshooting.
Restart and test each camera
A restart clears up processing glitches that can make the preview lag or look grainy. After it boots, open the Camera app and test every lens: the front camera, the main lens, and each zoom option. Tap the rotate button to switch between front and back, as Apple suggests.
This test tells you a lot. If only one lens is blurry, the problem is probably that lens module. If every lens is soft, look again at the case, the protector and the settings above.
Vibration damage from bikes and mounts
If the camera wobbles, buzzes, or will not hold focus no matter what, think about where the phone has been. Apple's note on vibration and iPhone cameras explains that optical image stabilization and closed loop autofocus are built to last, but long exposure to strong vibration, like the kind from high power motorcycle engines, can degrade them and reduce image quality.
Apple advises against mounting your iPhone on high power or high volume motorcycles. For scooters, mopeds and drones it recommends a vibration dampening mount or a gimbal, and avoiding long, regular use. If your phone spent months on a handlebar mount and the camera now struggles, that history is worth mentioning when you contact support.
When to get the camera repaired
If you have cleaned the lens, removed every accessory, checked settings, updated and restarted, and photos are still blurry, the hardware likely needs a look. Signs that point to repair include:
- One lens is soft while the others are sharp.
- The preview shakes, flickers or makes a clicking or buzzing sound.
- There is a crack or a speck of dust inside the camera glass.
- The camera screen stays black.
For a black screen, Apple describes running a diagnostic: turn off the iPhone, then press and hold the side button as it starts to open Recovery Assistant. Tap Diagnostics Mode and, when asked, choose Mobile Resource Inspector. If it finds an issue, Apple says to get service. You can start a repair through Apple Support, an Apple Store or an authorized service provider.
If repair costs make you think about an upgrade instead, our list of the best phones for photography compares current camera phones, and our guide on how to choose a camera covers when a dedicated camera makes more sense. Clean the rest of the phone while you are at it, since lint in the charging port builds up in the same pockets. More phone help lives in our gadgets section.
Before you book anything, take one last test: wipe the lens, pull off the case, and photograph a page of printed text in good light from about a foot away. If the letters are crisp, your camera is fine and the earlier blur came from conditions, not hardware.
Sources
Share this story
Spotted an error? Tell us