Key takeaways
- A clean, glare free scan matters more than the AI tool, and Google's free PhotoScan app combines several shots to remove reflections from glossy prints.
- Google Photos can handle light damage with Enhance, Unblur, Magic Eraser and the Adjust sliders, but some tools need at least 3 to 4 GB of RAM.
- Always keep the untouched scan, check restored faces closely, and label colorized copies because AI guesses colors it cannot know.
In this story 5 sections
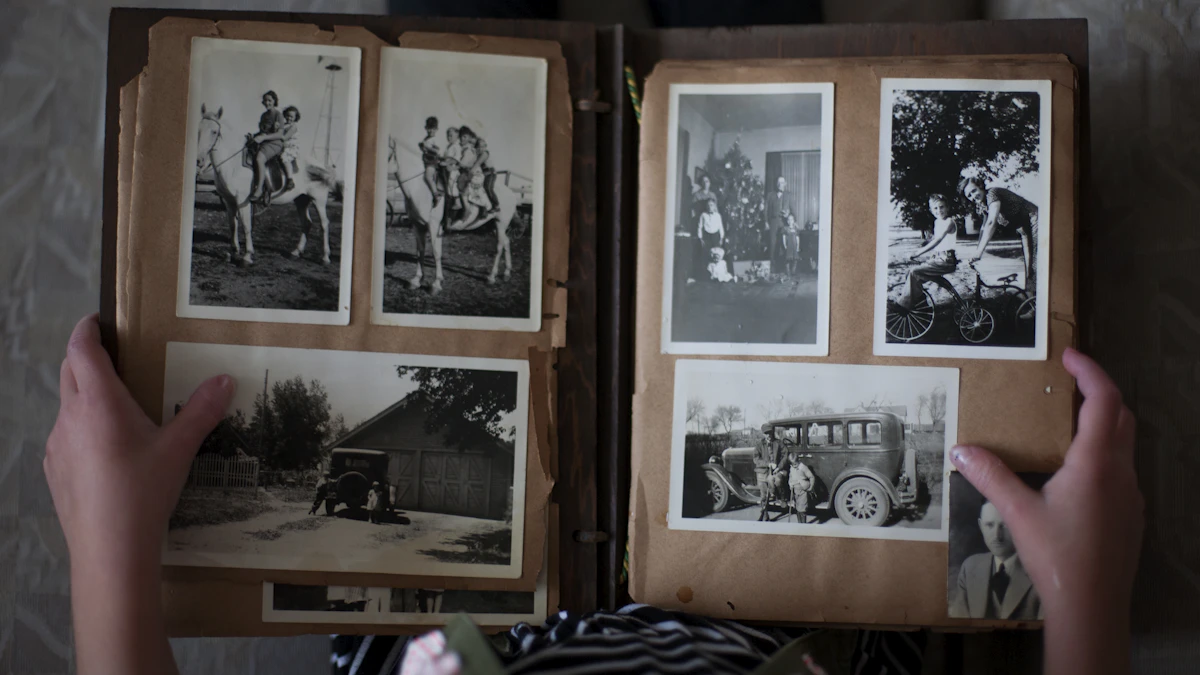
That shoebox of faded prints in the closet is a good candidate for AI photo restoration, and you can do most of the work with a phone and free apps. This guide is for anyone holding curled, cracked or color shifted family photos who wants clean digital copies without paying a restoration studio. Plan on about 10 minutes for your first photo, then a few minutes for each one after you know the routine.
The process has three stages: make a good scan, let AI repair what it can, then check and save the result. Skipping the first stage is the most common reason restorations look smeared or fake, so it gets the most attention below.
Before you start with your old photos
- The original prints. Work on the real photo, not a photo of a photo on a screen.
- Clean hands or nitrile gloves. The Library of Congress photo care guide recommends clean hands or clean nitrile gloves and holding prints by their edges.
- A soft air blower for dust. The same guide suggests a blower such as an air bulb, not canned air.
- A phone with Google Photos and PhotoScan, or a flatbed scanner if you already own one.
- Free storage space. A batch of high resolution scans fills a phone quickly. If yours is near the limit, clear room first with our guide to fixing a full iPhone storage warning.
Never tape, glue or put sticky notes on prints, even temporarily. The Library of Congress lists adhesives among the things to avoid.
Stage 1: Scan the photo without glare
AI tools can fix scratches and fading, but they cannot invent detail that a blurry or glare covered scan never captured. A clean capture matters more than which app you use later.
- Lay the print flat on a dark, matte surface in even daylight. Avoid direct overhead lamps, which cause bright reflections on glossy paper.
- Install PhotoScan by Google Photos. It is free on the App Store (iOS 15.0 or later) and on Google Play.
- Open PhotoScan, frame the whole print inside the viewfinder and tap the shutter.
- Follow the on screen capture flow. The app takes several shots as you move the phone over the print, then combines them into one glare free image.
- Check the automatic crop. PhotoScan finds the edges of the print and straightens the perspective, but if it clips a corner you can drag the edges in the corner editor to adjust it.
- Repeat for each photo. Google notes that scans are saved to your device on capture.
If you are scanning a matte print in a room with no glare at all, PhotoScan has a quick scan option that turns off glare removal and goes faster. For glossy prints, leave glare removal on.
Got a flatbed scanner? Use it for your most important photos. It captures the print evenly with no reflections. Save each scan as a separate file before you edit anything, so you always have an untouched master copy.
Stage 2: Repair the scan with AI
You have two good paths here. Google Photos is free and handles light damage. Dedicated restoration tools go further on faces, scratches and color.
Option A: Google Photos tools
According to Google's editing help page, the steps are:
- Open the scanned photo in the Google Photos app and tap Edit at the bottom.
- Try the suggested edits first: Enhance, Dynamic or AI Enhance. AI Enhance gives you several results to choose from.
- Go to Actions and tap Unblur if the faces look soft. Google says the improved Unblur needs at least 4 GB of RAM on Android.
- Still in Actions, use Magic Eraser to remove dust specks, small stains or a stray thumb in the frame. Tap the area, choose Erase, then tap Done.
- Open Adjust to fix fading by hand with Brightness, Contrast, Saturation and Warmth. Old color prints often drift orange or magenta, and Warmth helps pull them back.
- Tap Save as copy so the original scan stays untouched.
Some of these tools have device limits. Google says most editing features need at least 3 GB of RAM and Android 8.0 or later, some are limited to Pixel phones, and the tools must download first over WiFi.
Option B: A dedicated restoration tool
For heavy cracks, torn corners or tiny faces in group shots, a specialized tool usually does better than a general photo editor.
- MyHeritage offers a Photo Enhancer that uses deep learning to sharpen and upscale faces in old, small or blurry photos, plus a separate tool to colorize black and white images.
- Adobe Photoshop includes a gallery of Neural Filters with AI powered corrective effects. The Photoshop plan was listed at US$22.99 a month (annual, billed monthly) on Adobe's plans page in November 2026, with a 7 day free trial. Filter names change between versions, so check Adobe's current help page inside the app.
If you mostly want to brighten, crop or remove objects from newer pictures, our guide on how to use AI to edit photos covers that side in more detail.
Stage 3: Check the result and save it properly
AI repair is a guess about what used to be there. Most of the time the guess is good. Sometimes it is not, and the errors land in the places you care about most.
- Zoom in on the faces. Look for eyes that do not match, teeth that look painted on, or skin that looks like plastic. If you see any of these, go back and use a lighter setting or skip that tool.
- Compare side by side. Put the restored version next to the original scan. If a relative would not recognize the person, the edit went too far.
- Be careful with colorization. Colorized photos are an interpretation, not a record. The AI does not know the real color of a dress or a car, so label colorized copies as such when you share them.
- Name files clearly. Something like "grandma-wedding-1962-restored" beats a camera filename when you search years later.
- Keep three versions: the untouched scan, the restored copy and, if you made one, the colorized copy.
- Back up in two places, such as your phone's cloud photo library and an external drive.
Then put the original print back in safe storage. The Library of Congress recommends a cool, relatively dry spot (70°F or below, 30 to 50 percent relative humidity) and albums with photo safe pages, never magnetic or sticky ones.
When AI photo restoration does not work
The result looks smeared or waxy. The scan probably did not have enough detail. Rescan in better light, or use a flatbed scanner, and run the repair again with gentler settings.
Glare streaks are still visible. Move the print away from the window or lamp, turn glare removal back on in PhotoScan and rescan. Textured "silk finish" paper is especially stubborn, so a flatbed often works better for it.
Google Photos is missing a tool. Check that the app is updated, that you have WiFi so the tool can download, and that your phone meets the RAM and Android version limits above. On older phones, some tools only allow Save as copy.
Large pieces of the photo are torn away. AI can fill small gaps, but when half a face is gone it will invent a face. For a one of a kind portrait like that, a human restoration specialist is worth the cost.
You are not sure if a "restored" photo you received is real. AI can now make convincing fake vintage images. Our guide to spotting AI deepfake scams explains what to check before you trust or share one.
Start with the photo that matters most to your family and do just that one today. Once you have a clean scan and a restored copy backed up, the rest of the box goes much faster. For more practical guides like this, browse our AI section.
Sources
Share this story
Spotted an error? Tell us